What Is the Correct Way to Change an Apple Watch Band? (Safe Step-by-Step Guide)
What Is the Correct Way to Change an Apple Watch Band? (Complete Safe Guide)
Changing an Apple Watch band may look simple, but doing it the wrong way can lead to scratched connectors, jammed band slots, loose fittings, or even permanent damage to your watch. That’s why so many users search for questions like “what is the correct way to change Apple Watch band”, “how to change Apple Watch strap safely”, or “why is my Apple Watch band stuck”.

The good news? Apple designed its band mechanism to be changed without tools, without force, and in under 30 seconds—as long as you follow the correct steps.
In this in-depth guide, you’ll learn:
- The exact Apple-recommended way to change an Apple Watch band
- What NOT to do (mistakes that cause damage)
- How to remove a stuck or jammed band safely
- Does the method change for metal, leather, or Ultra bands?
- How to choose the right replacement band for your lifestyle
This guide applies to all Apple Watch models, including Apple Watch Ultra, Ultra 2, Ultra 3, Series 11, Series 10, SE, and earlier generations.
Shop the Collection: Find the Right Apple Watch Band Before You Change
Before learning how to change your Apple Watch band, it’s important to choose a band that actually matches your lifestyle, wrist size, and usage. The right band not only feels better but also slides in and out smoothly—reducing wear on the connector.

- Apple Watch Bands for Men – Durable, rugged, and everyday-ready styles.
- Apple Watch Bands for Women – Lightweight, elegant, and fashion-forward designs.
- Apple Watch Ultra 3 Bands – Built for adventure, workouts, and outdoor use.
- Apple Watch Series 11 Bands – Perfectly sized for Apple’s newest generation.
- Best-Selling Apple Watch Bands – Customer favorites across all styles.
- All Apple Watch Bands – Explore every material, size, and color.
Table of Contents
- Quick Answers: Changing an Apple Watch Band
- Understanding Apple Watch Band Mechanism
- Correct Way to Change an Apple Watch Band (Step-by-Step)
- Common Mistakes That Damage Apple Watch Bands
- What to Do If Your Apple Watch Band Is Stuck
- Does the Method Change by Band Material?
- Band Size & Compatibility Explained
- How to Choose the Right Replacement Band
- Cleaning & Maintenance After Changing Bands
- Frequently Asked Questions
Quick Answers: Changing an Apple Watch Band

What is the correct way to change an Apple Watch band?
Place the watch face down on a soft surface, press and hold the band release button, and slide the band horizontally out of the slot.
Do I need tools to change an Apple Watch band?
No. Apple Watch bands are designed to be changed by hand without tools.
Can I damage my Apple Watch by changing bands?
Only if done incorrectly—pulling upward, twisting, or using tools can damage the connector.
How often can I change my Apple Watch band?
You can safely change bands daily if done properly.
Understanding How Apple Watch Bands Lock In
Apple Watch bands use a precision slide-lock system. Each band has a metal connector that fits into the watch’s band channel. Inside the channel is a small locking pin controlled by the release button.

When you press and hold the release button:
- The locking pin retracts
- The band becomes free to slide sideways
- The band should move smoothly with minimal force
If the button is not fully pressed, the locking pin remains engaged—which is why bands feel “stuck” when users try to pull them out incorrectly.
Correct Way to Change an Apple Watch Band (Step-by-Step)

Step 1: Power Off the Watch (Recommended)
While not mandatory, turning off your Apple Watch prevents accidental screen touches and makes handling easier—especially with heavier metal bands.
Step 2: Place Watch Face Down
Lay the watch on a soft, lint-free surface like a microfiber cloth. This prevents scratches on the display and stabilizes the watch.
Step 3: Press & Hold the Band Release Button
On the back of the watch, locate the oval band release button. Press and hold it firmly. Do not tap or partially press.
Step 4: Slide the Band Sideways
While holding the button, gently slide the band horizontally. Never pull upward. The band should glide out smoothly.
Step 5: Insert the New Band
Slide the new band into the slot until you feel or hear a soft click. Lightly tug to confirm it’s locked.
Common Mistakes That Damage Apple Watch Bands

- ❌ Pulling the band upward instead of sliding
- ❌ Using knives, pins, or metal tools
- ❌ Twisting or bending the connector
- ❌ Forcing a band when it doesn’t move
These mistakes can permanently damage the band slot and may lead to loose-fitting bands or safety risks during workouts.
What to Do If Your Apple Watch Band Is Stuck

A stuck Apple Watch band is usually caused by dirt, sweat residue, or debris inside the band channel.
Safe Fix Steps
- Hold the release button down firmly
- Gently wiggle the band left and right
- Use compressed air or a soft brush to remove debris
- Try sliding again—never force it
For a detailed walkthrough, read: How to Remove an Apple Watch Band Without Damage
Does the Method Change by Band Material?
The removal method stays the same, but materials behave differently:

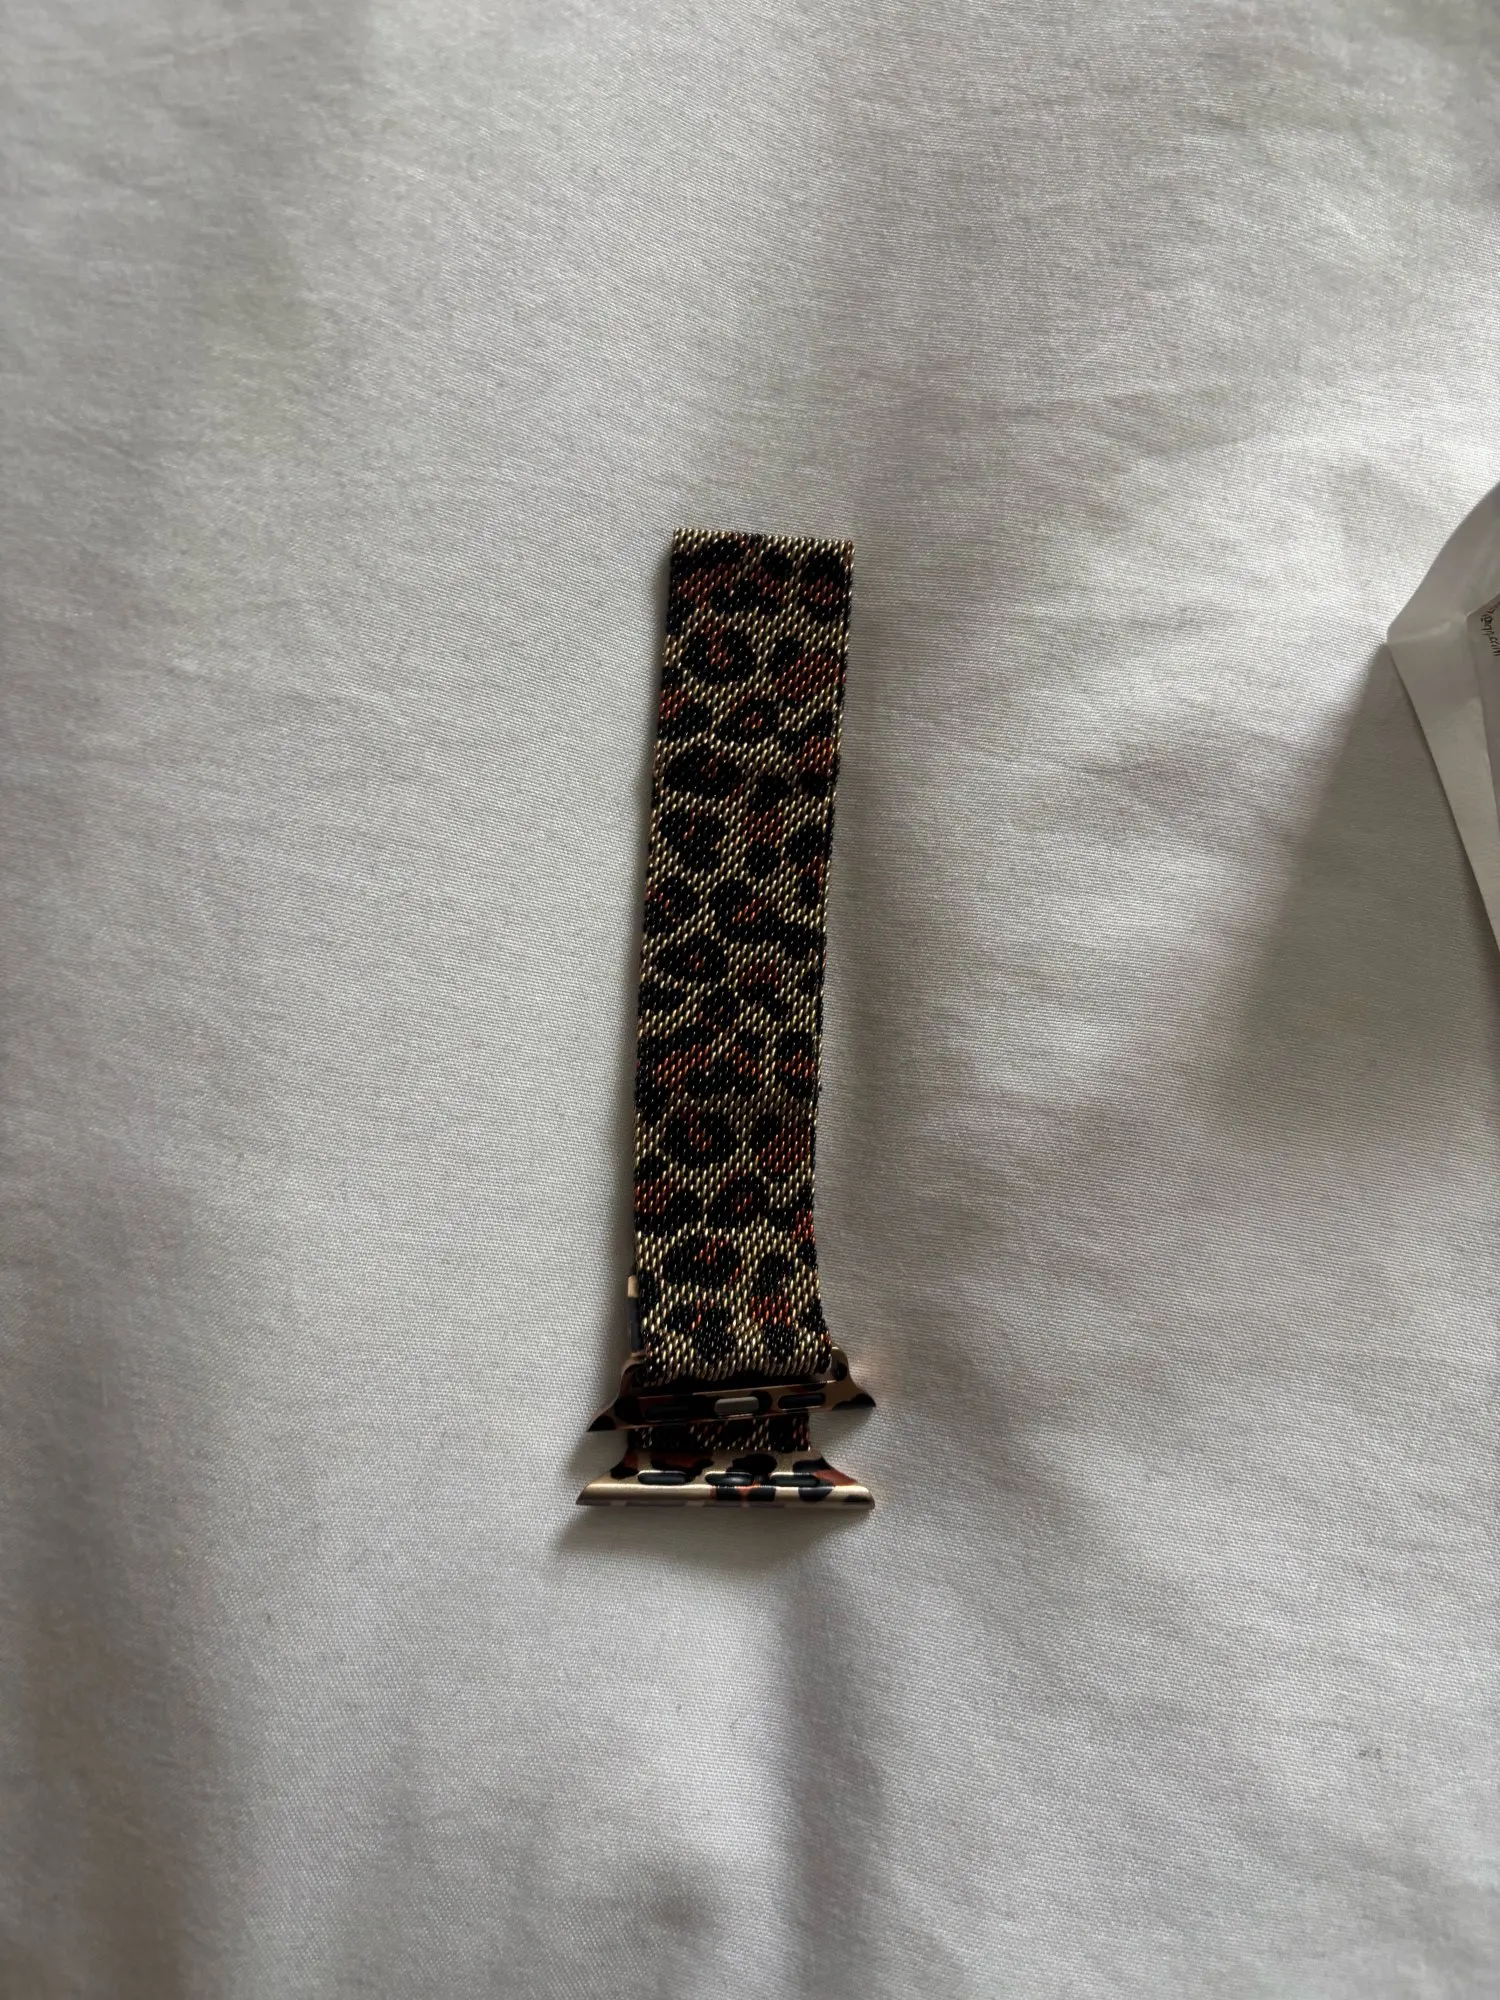
- Silicone / Sport Bands: Slide out easily, beginner-friendly
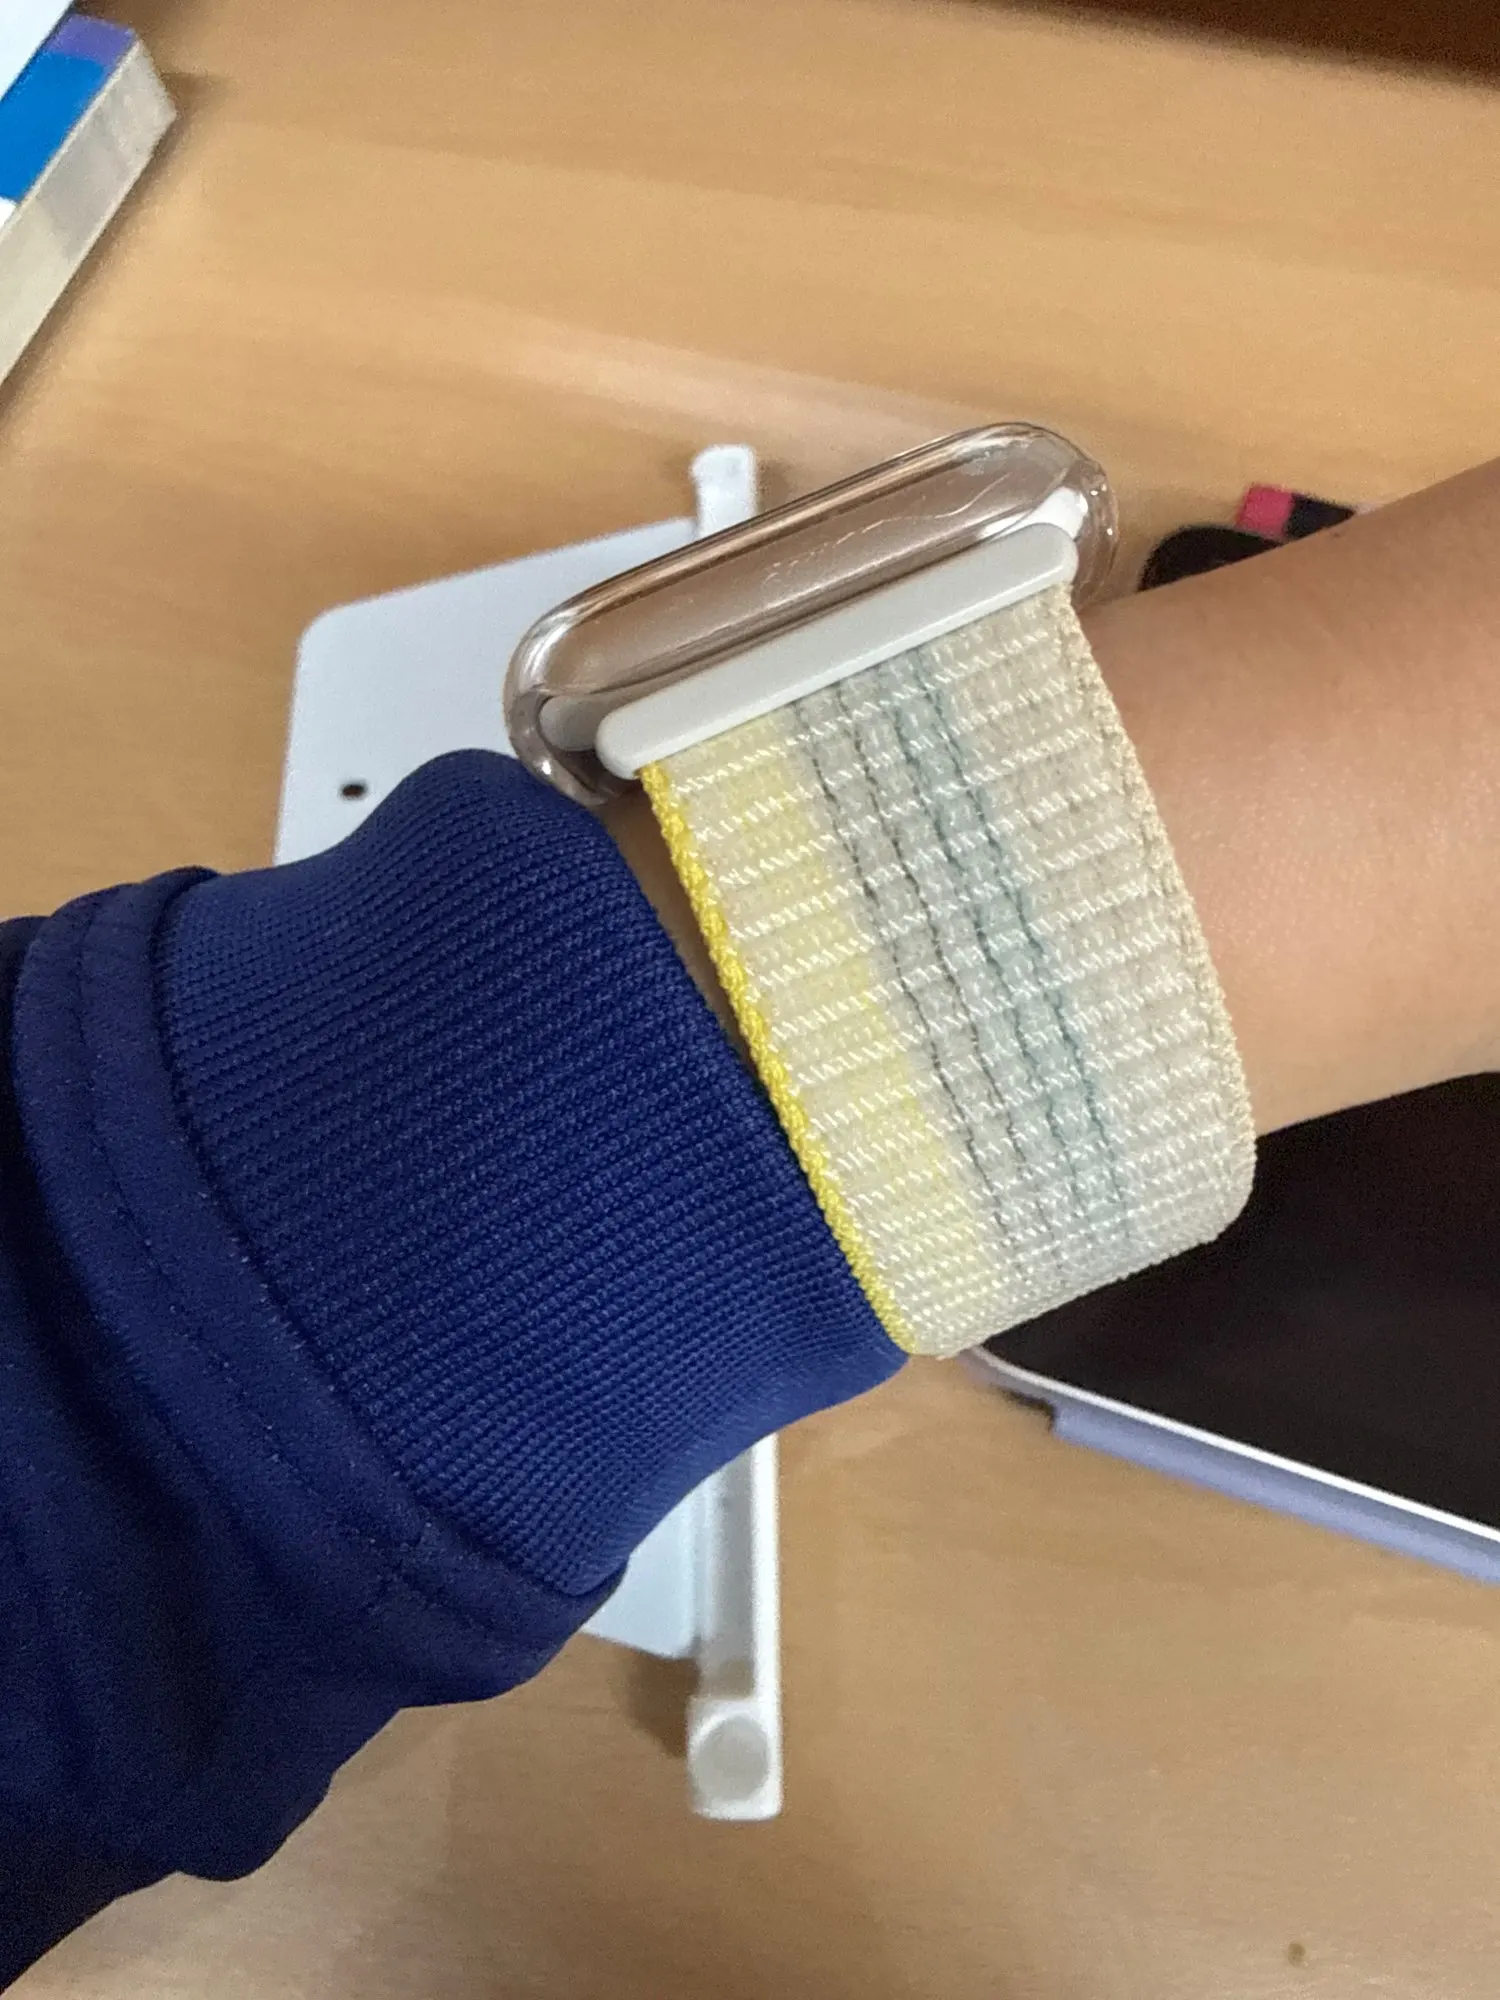
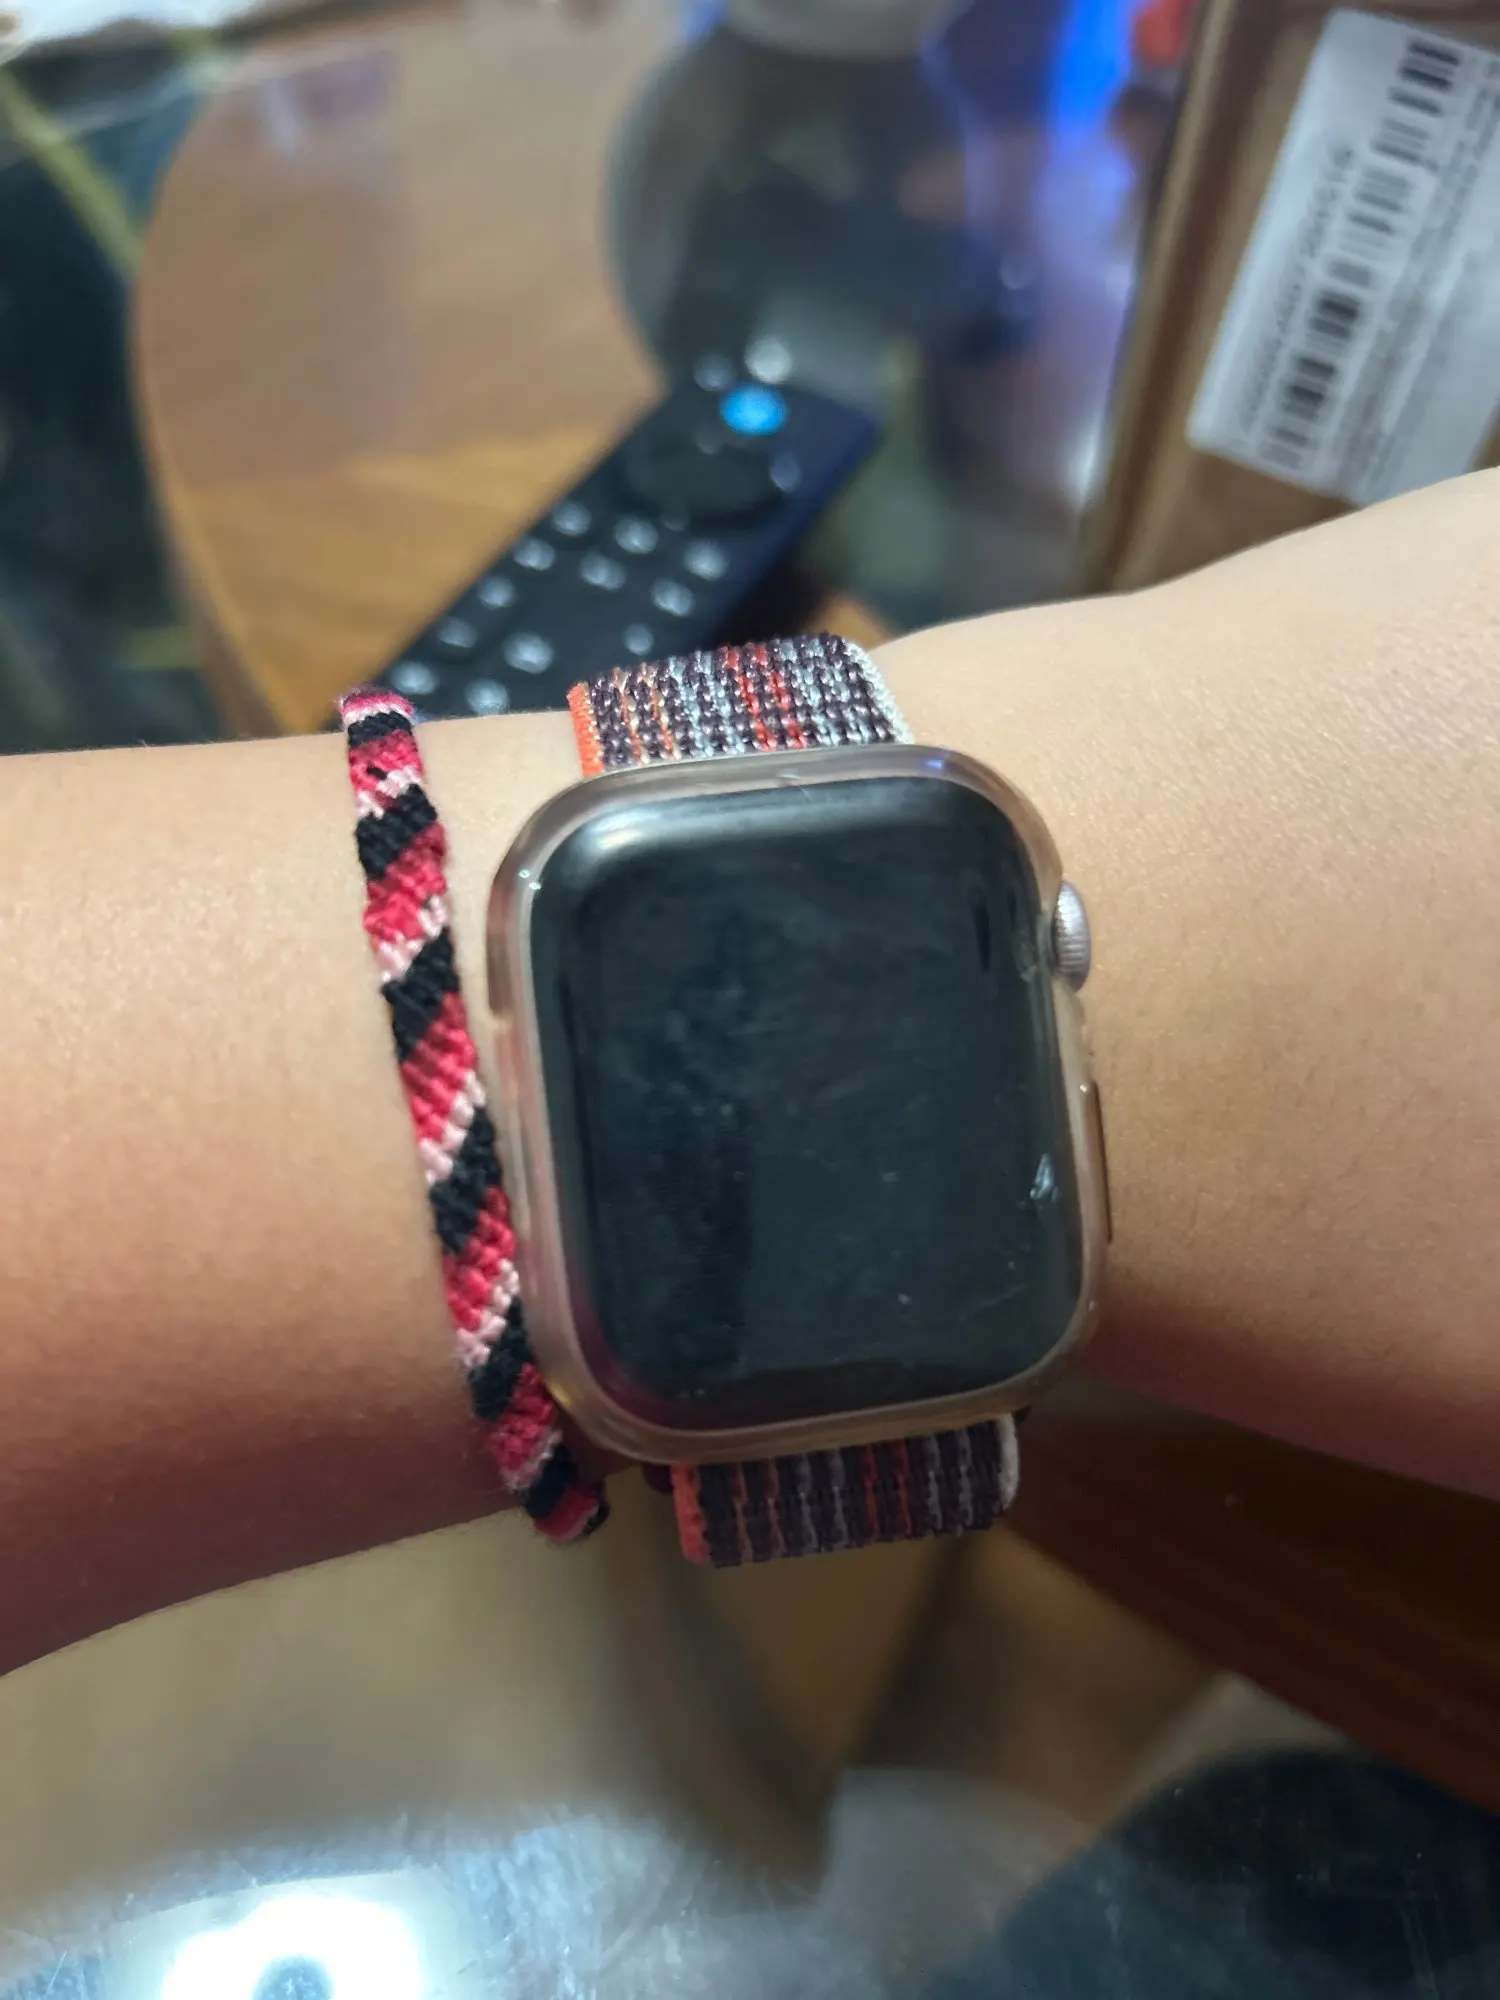
- Nylon Bands: Lightweight, minimal resistance
- Leather Bands: Remove gently to avoid bending
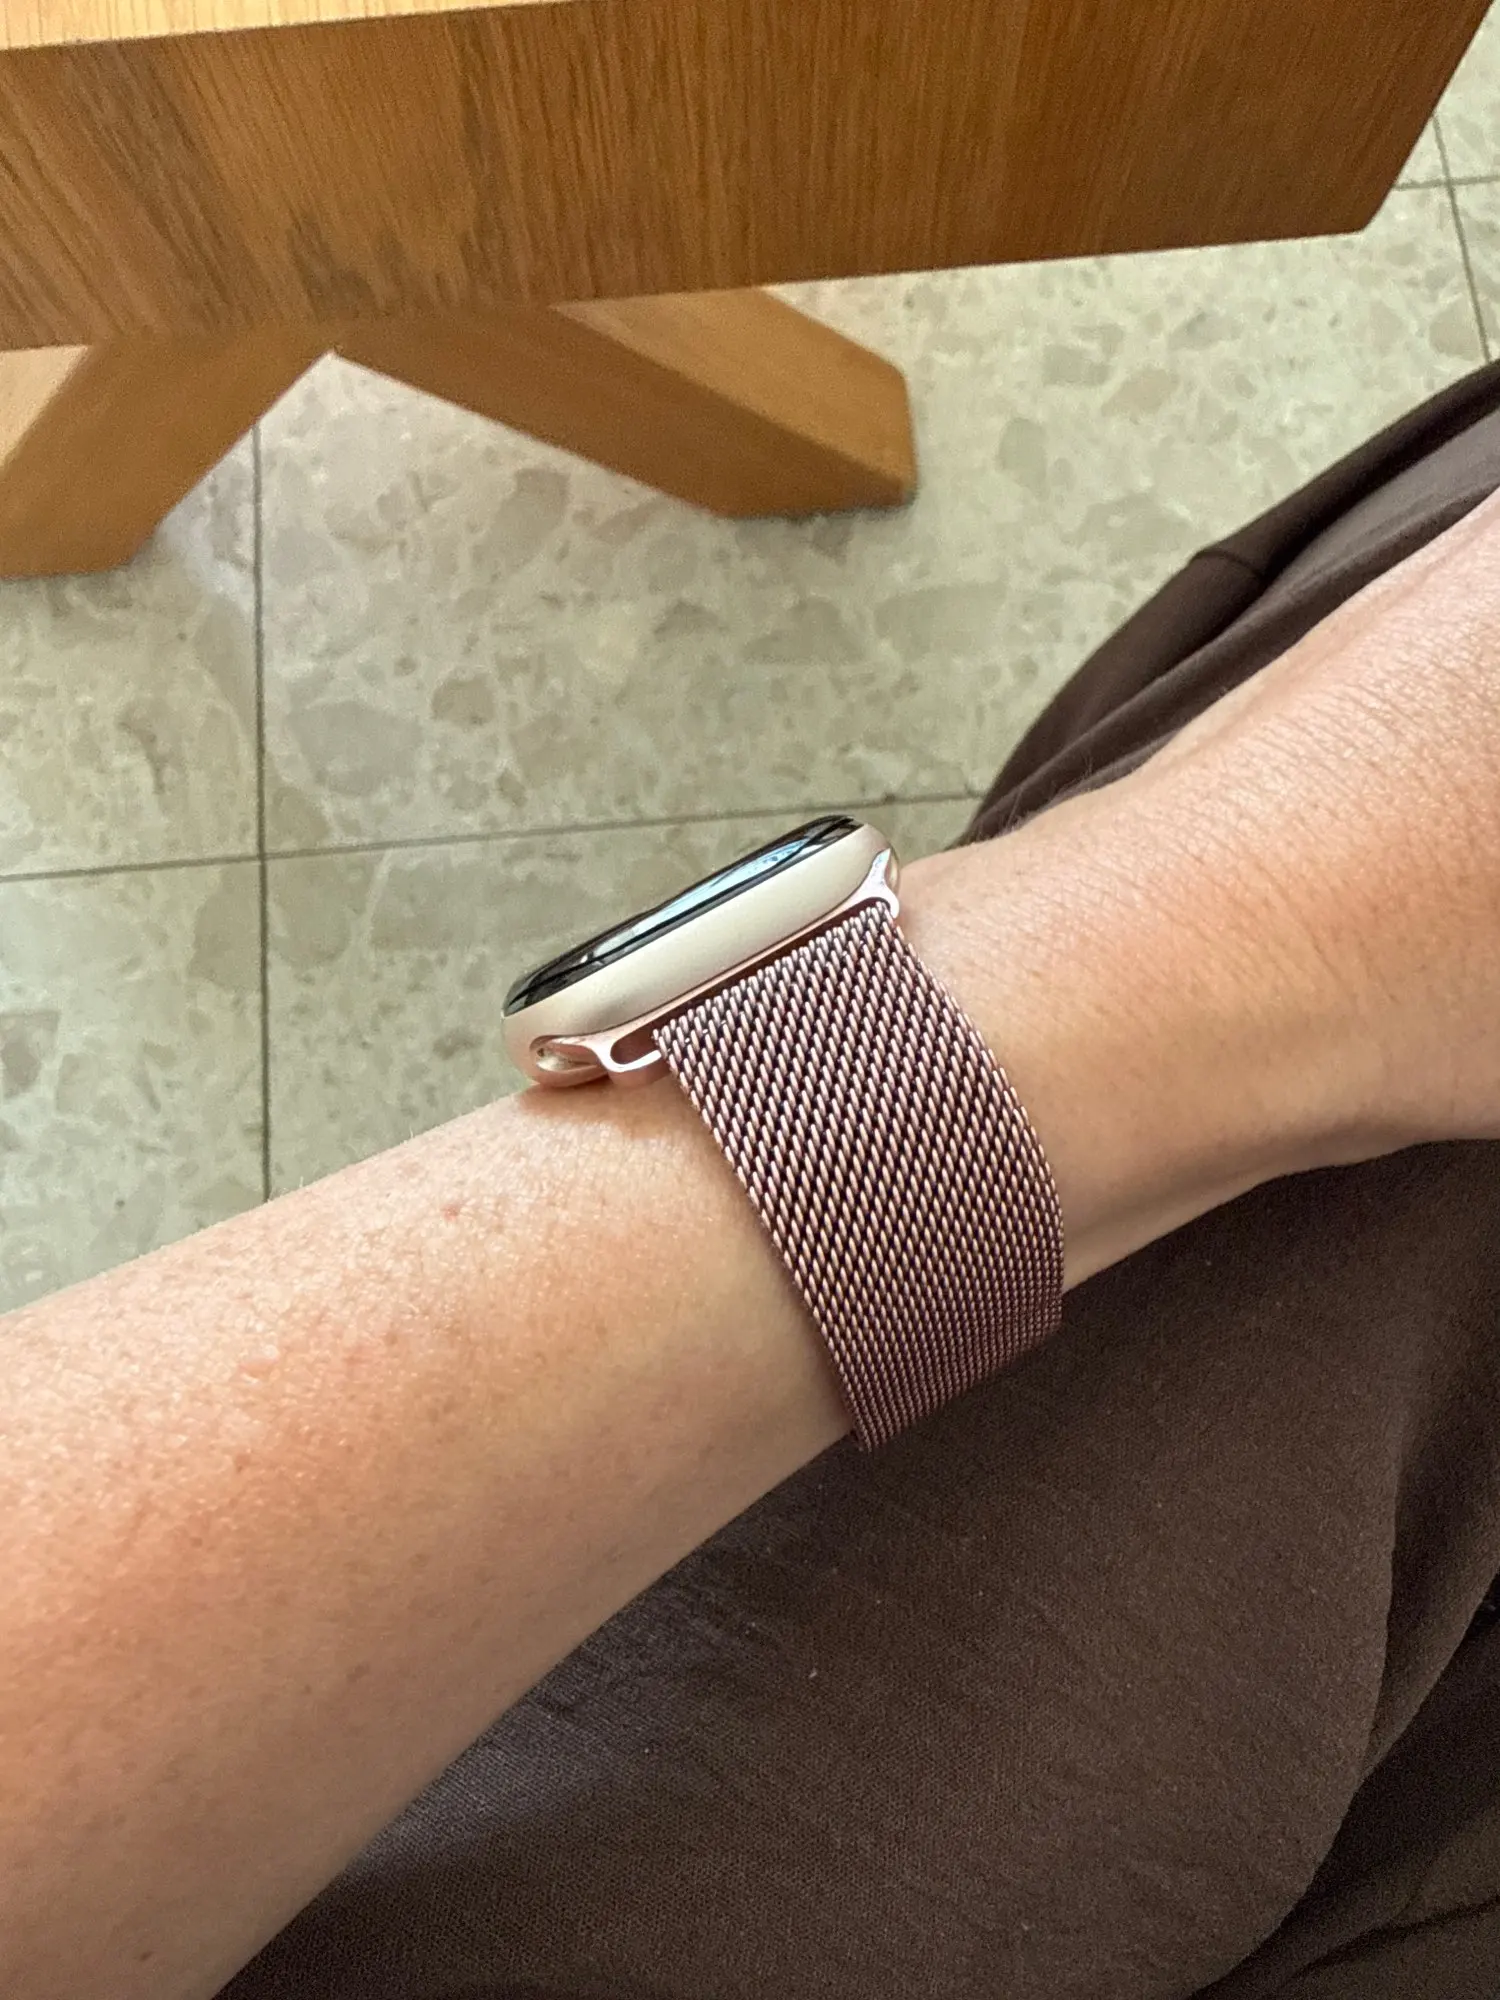
- Metal Link Bands: Heavier—support the watch while sliding
- Ultra Rugged Bands: Thicker connectors—press button firmly
Band Size & Compatibility Explained
Apple Watch bands are compatible by case size group, not model year.

- 38mm / 40mm / 41mm / 42mm bands fit small-case watches
- 44mm / 45mm / 46mm / 49mm bands fit large-case watches
- Apple Watch Ultra uses 49mm-compatible bands
Always confirm size before inserting a new band to avoid jamming.
How to Choose the Right Replacement Apple Watch Band

Your usage determines the best band:
- 🏃 Workouts & sweat → Silicone or nylon
- 💼 Office & meetings → Leather or metal
- 🏔 Outdoor & adventure → Ultra-grade rugged bands
- ✨ Fashion & events → Bracelet or diamond bands
Style inspiration:
Cleaning & Maintenance After Changing Bands
After removing or installing a band:

- Wipe connectors with a microfiber cloth
- Clean sweat residue regularly
- Let bands dry fully before reinstalling
- Avoid moisture buildup in band slots
Frequently Asked Questions

Can I change Apple Watch bands every day?
Yes, as long as you slide them out correctly.
Why won’t my new band click in?
It may be upside down or the wrong size.
Can Apple Watch bands wear out the connector?
Only if forced or installed incorrectly.
Is it safe to clean the band slot?
Yes—use soft tools only, never metal.
Final Thoughts: Change Your Apple Watch Band the Right Way
Now you know the correct way to change an Apple Watch band—safely, confidently, and without damage. By pressing the release button fully, sliding horizontally, and choosing the right band for your lifestyle, you protect both your watch and your investment.

Whether you’re switching bands for comfort, workouts, or style, following these steps ensures a smooth experience every time.