How to Remove an Apple Watch Band Without Damage (Safe Step-by-Step Guide)
How to Remove Apple Watch Band Without Damage (Safe, Beginner-Friendly Guide)
Removing an Apple Watch band should be quick, clean, and stress-free—but many users accidentally scratch their watch, jam the release button, or even bend the connector by rushing the process. If you’ve ever searched “how to remove Apple Watch band without damage”, “Apple Watch strap stuck”, or “safe way to change Apple Watch band”, you’re in the right place.

This guide is written for everyday Apple Watch owners—no tools experience required. You’ll learn the exact step-by-step method Apple recommends, common mistakes to avoid, how to remove stubborn or third-party bands safely, and what accessories make the process easier long-term. Whether you’re switching bands for workouts, cleaning, styling, or gifting, this article will help you protect both your watch and your band.
Quick answer: To remove an Apple Watch band without damage, power off the watch, press and hold the band release button on the back, slide the band sideways (not upward), and never force it. If it doesn’t move, clean the slot and try again gently.
Shop Essentials Before You Change Your Band
Using the right accessories prevents scratches, lost parts, and connector damage—especially if you change bands often.

🔧 Watch Band Removal Tool (Spring Bar & Pin Adjuster)
This precision tool is perfect for metal link bands, bracelets, and stubborn connectors. It helps you adjust links and safely remove pins without bending or scratching your Apple Watch.

Key features: Non-slip grip, fine-tip pin remover, compatible with Apple Watch metal bands.
🧩 Watch Strap Organizer
If you own multiple Apple Watch bands, an organizer keeps them dust-free, untangled, and easy to access—no more scratching bands in drawers.

Key features: Multi-slot design, travel-friendly, protects clasps and connectors.
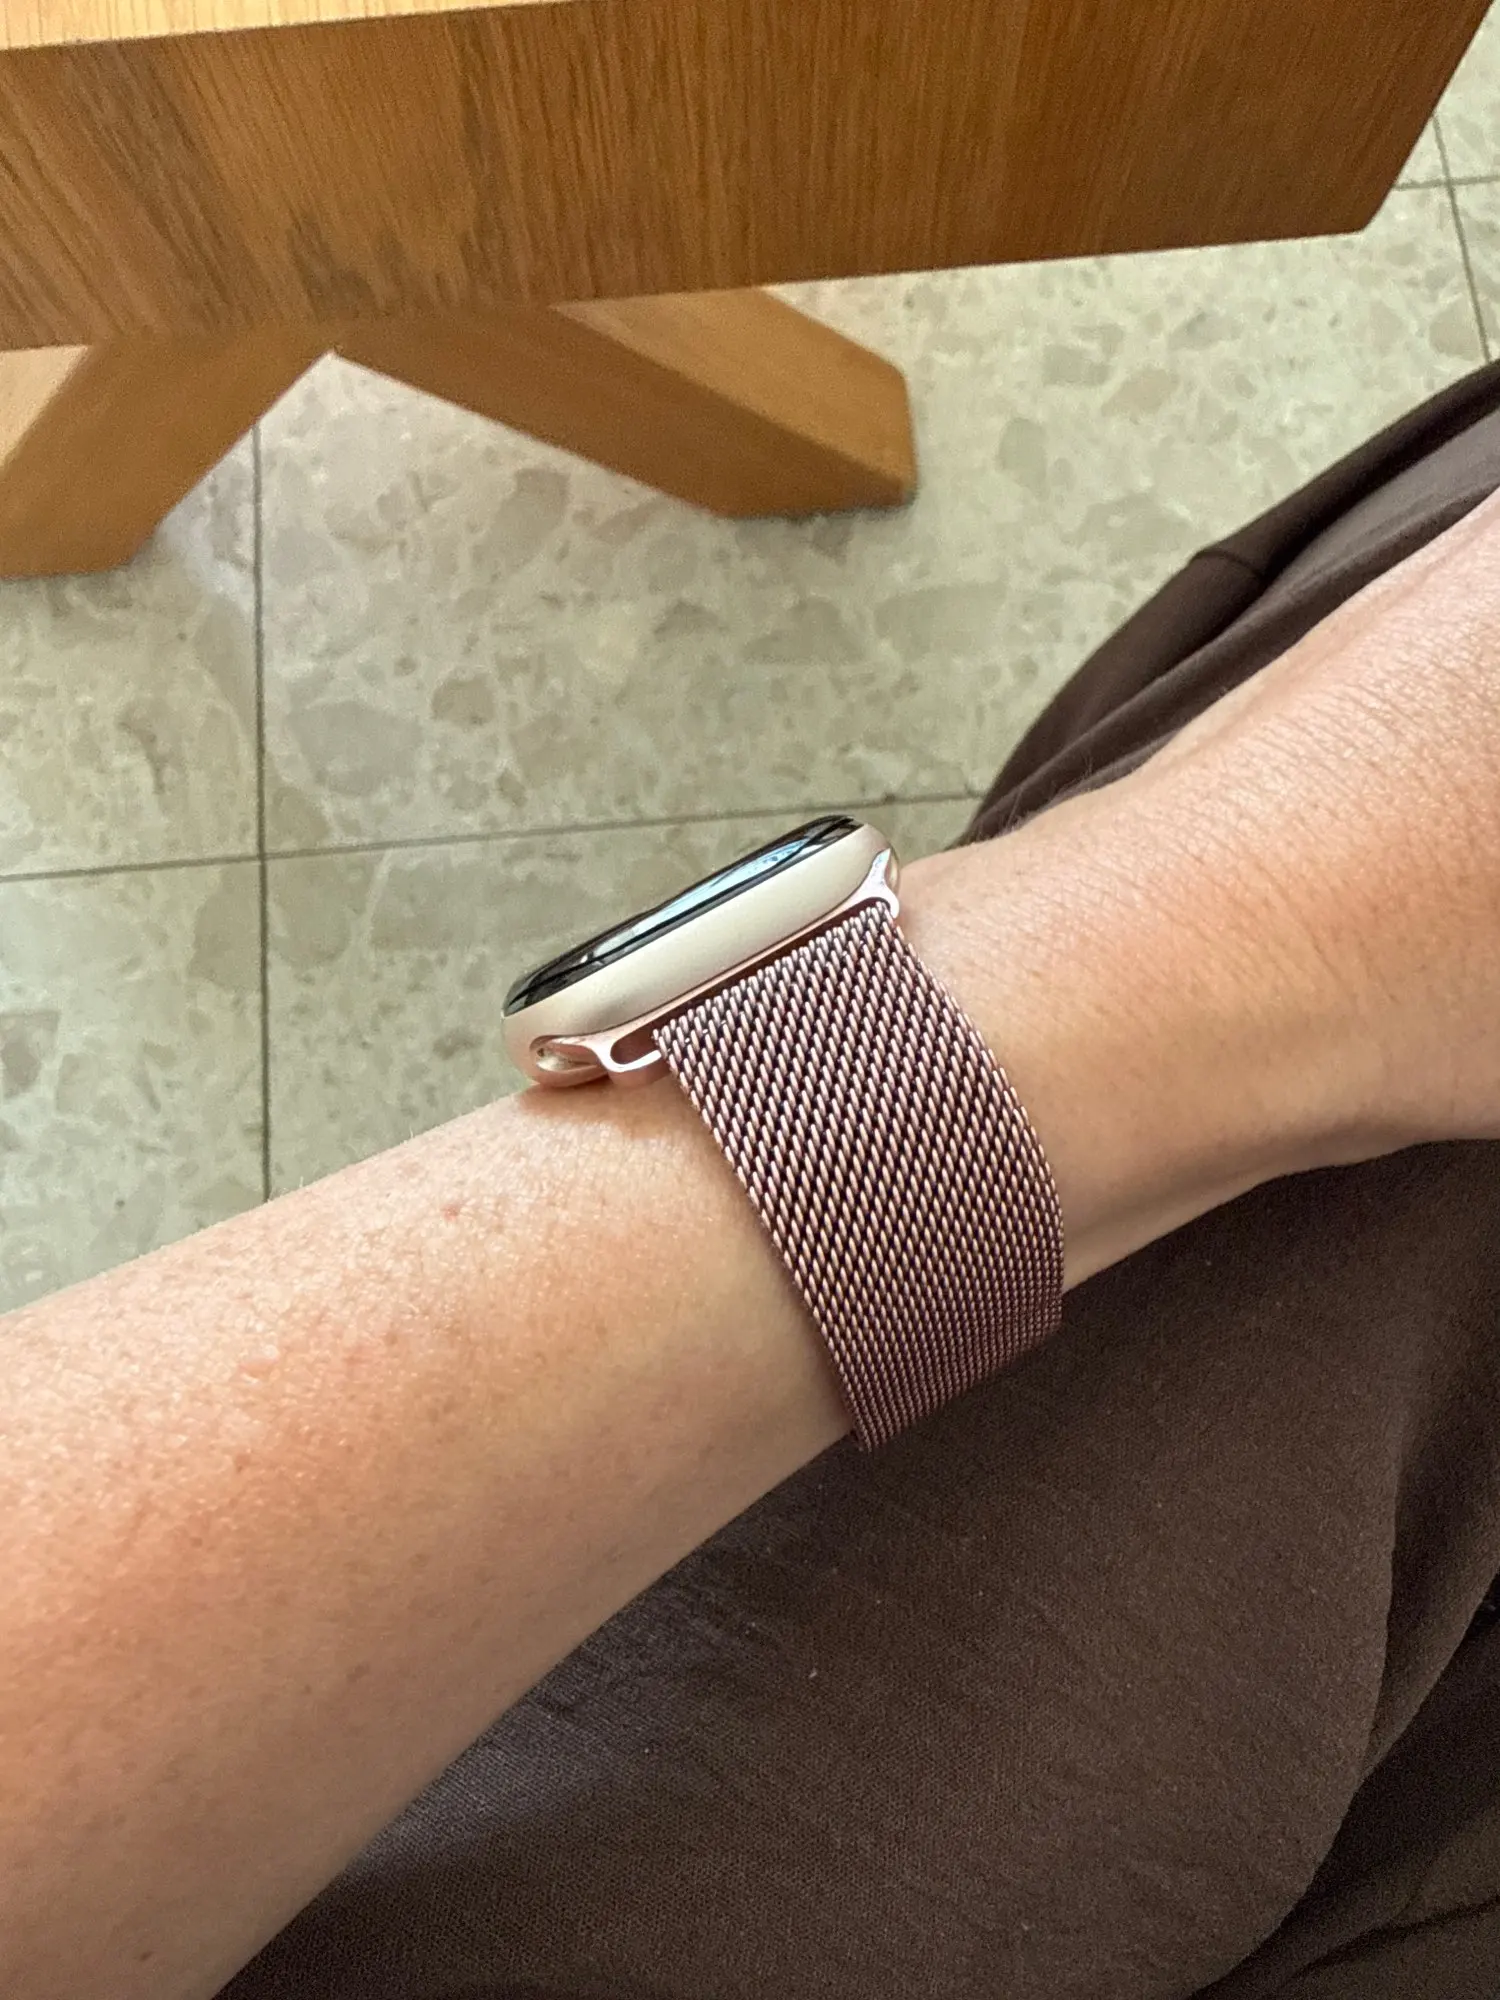
How Apple Watch Bands Lock (So You Don’t Break Them)
Apple Watch bands use a slide-and-lock rail system. Each band has a metal connector that slides into the watch body until it clicks. The release button disengages an internal latch—allowing the band to slide out sideways.

Important: Apple Watch bands are not designed to be pulled upward or twisted. Damage usually happens when users apply force in the wrong direction.
Step-by-Step: How to Remove Apple Watch Band Without Damage

- Turn off your Apple Watch and remove it from your wrist.
- Place it face-down on a soft microfiber cloth.
- Press and hold one band release button on the back.
- While holding the button, slide the band sideways (left or right).
- Repeat for the other side.
If the band doesn’t slide easily, stop—forcing it can damage the connector.
What NOT to Do When Removing an Apple Watch Band

- ❌ Don’t pull the band upward
- ❌ Don’t use knives, keys, or metal tools
- ❌ Don’t twist or wiggle aggressively
- ❌ Don’t remove bands while wearing the watch
These are the most common reasons users end up with scratched aluminum, bent connectors, or jammed release buttons.
How to Remove a Stuck Apple Watch Band (Safe Fixes)
If your Apple Watch band is stuck, it’s usually due to dust, sweat buildup, or a slightly misaligned connector.

Try This First
- Hold the release button firmly
- Slide the band slowly back and forth (millimeters only)
- Keep steady pressure—don’t jab
If It Still Won’t Move
- Use compressed air to clean the slot
- Wipe with a microfiber cloth
- Try again on a flat surface
Avoid lubricants or oils—they can damage internal seals.
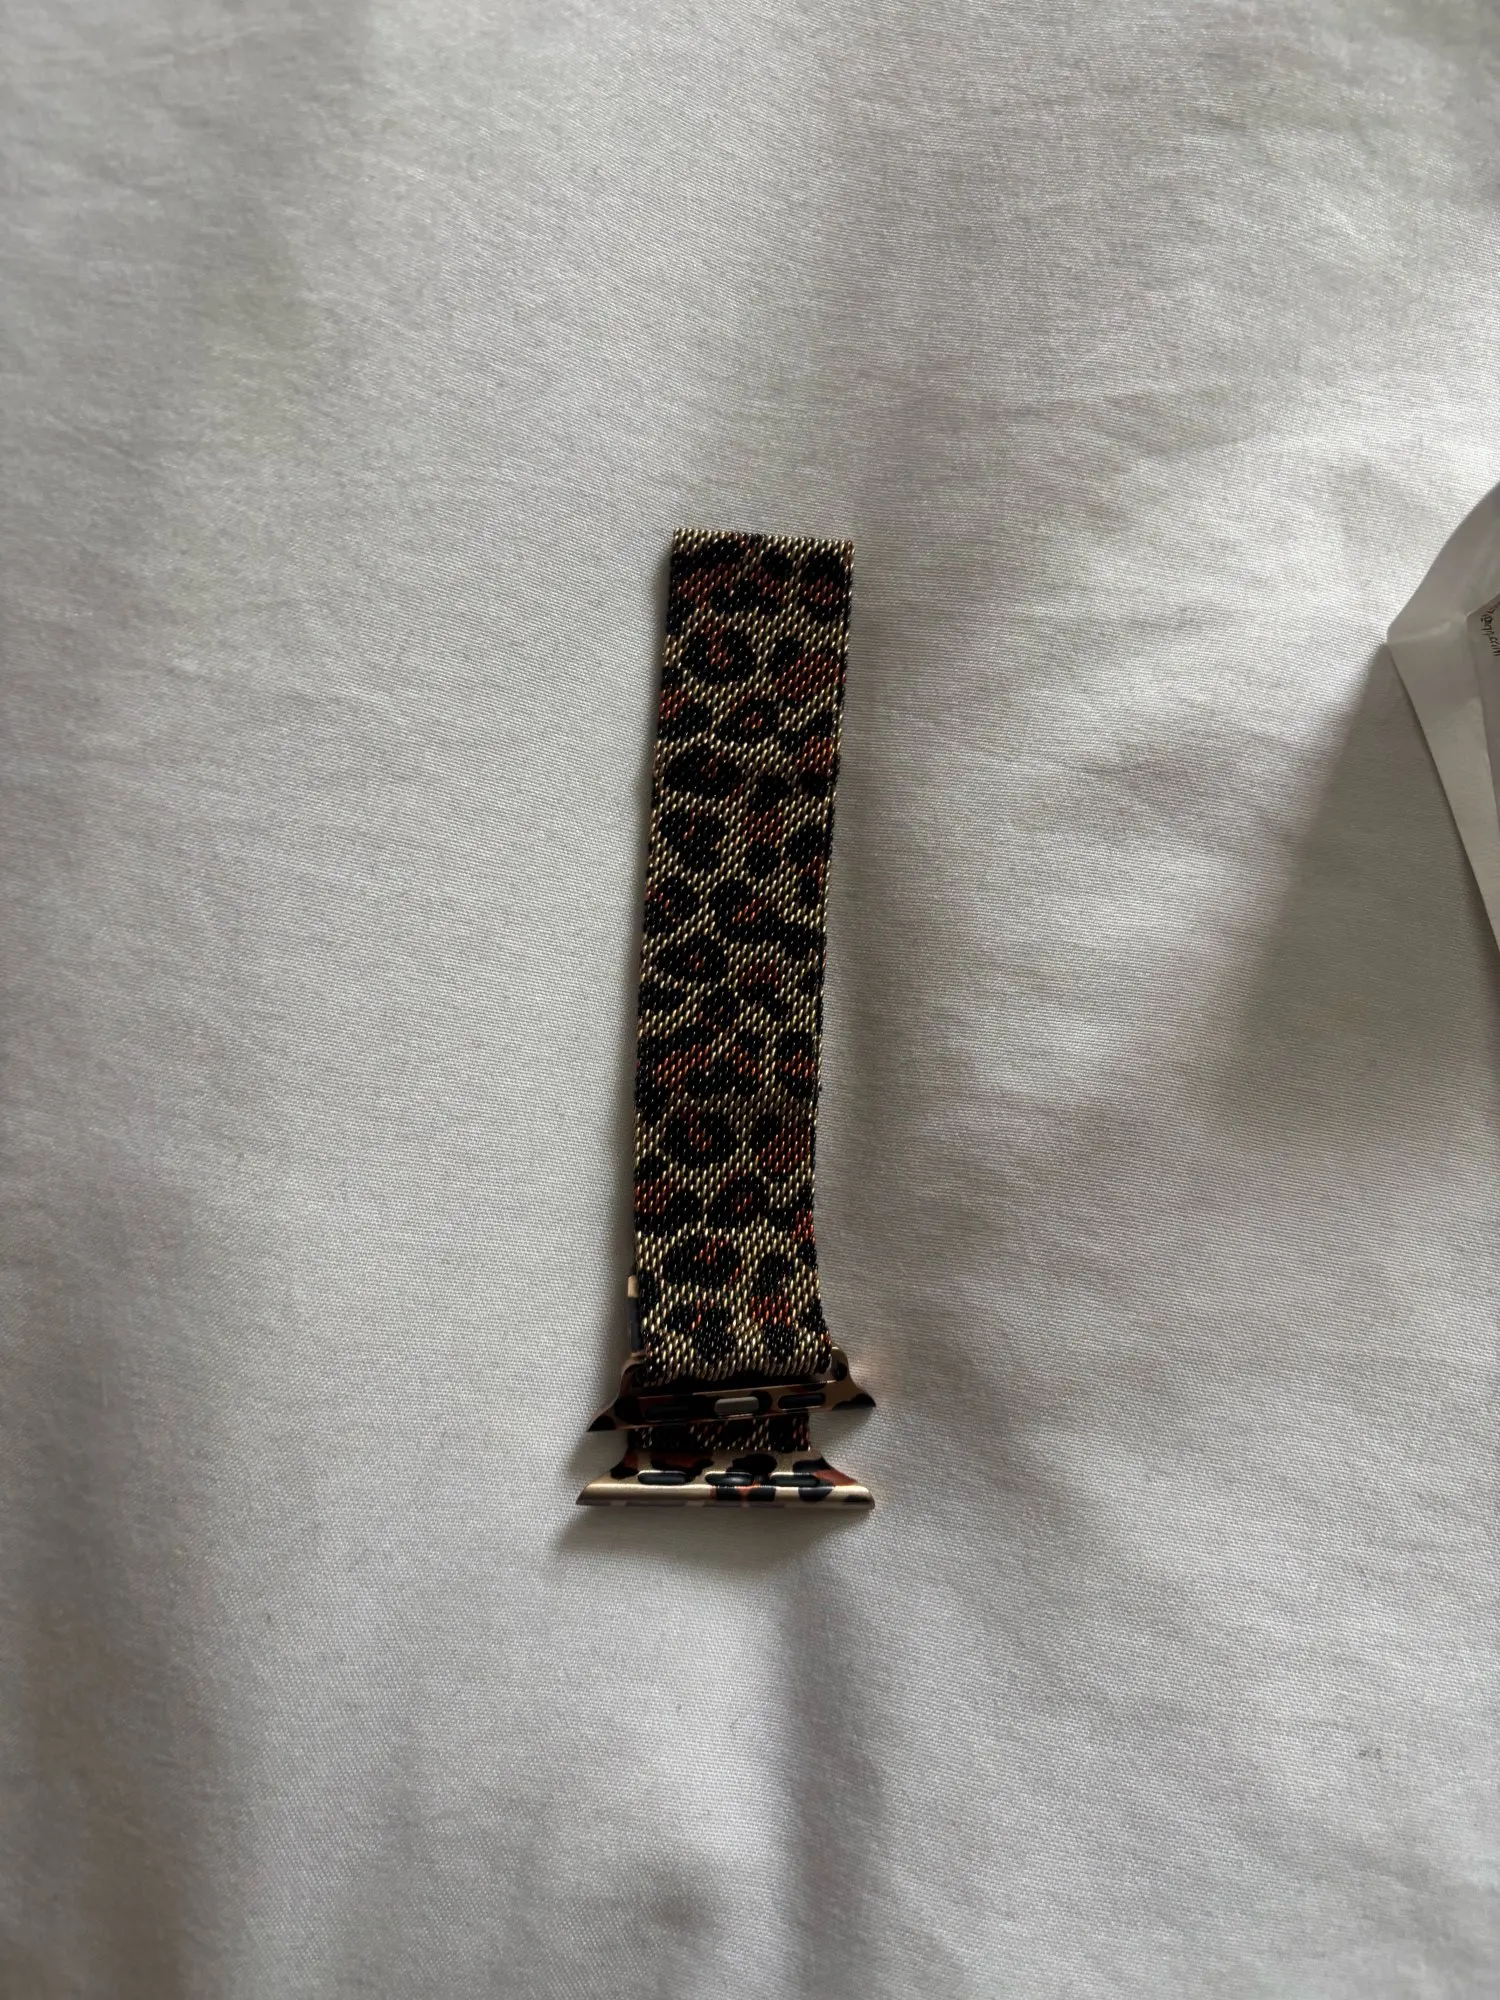
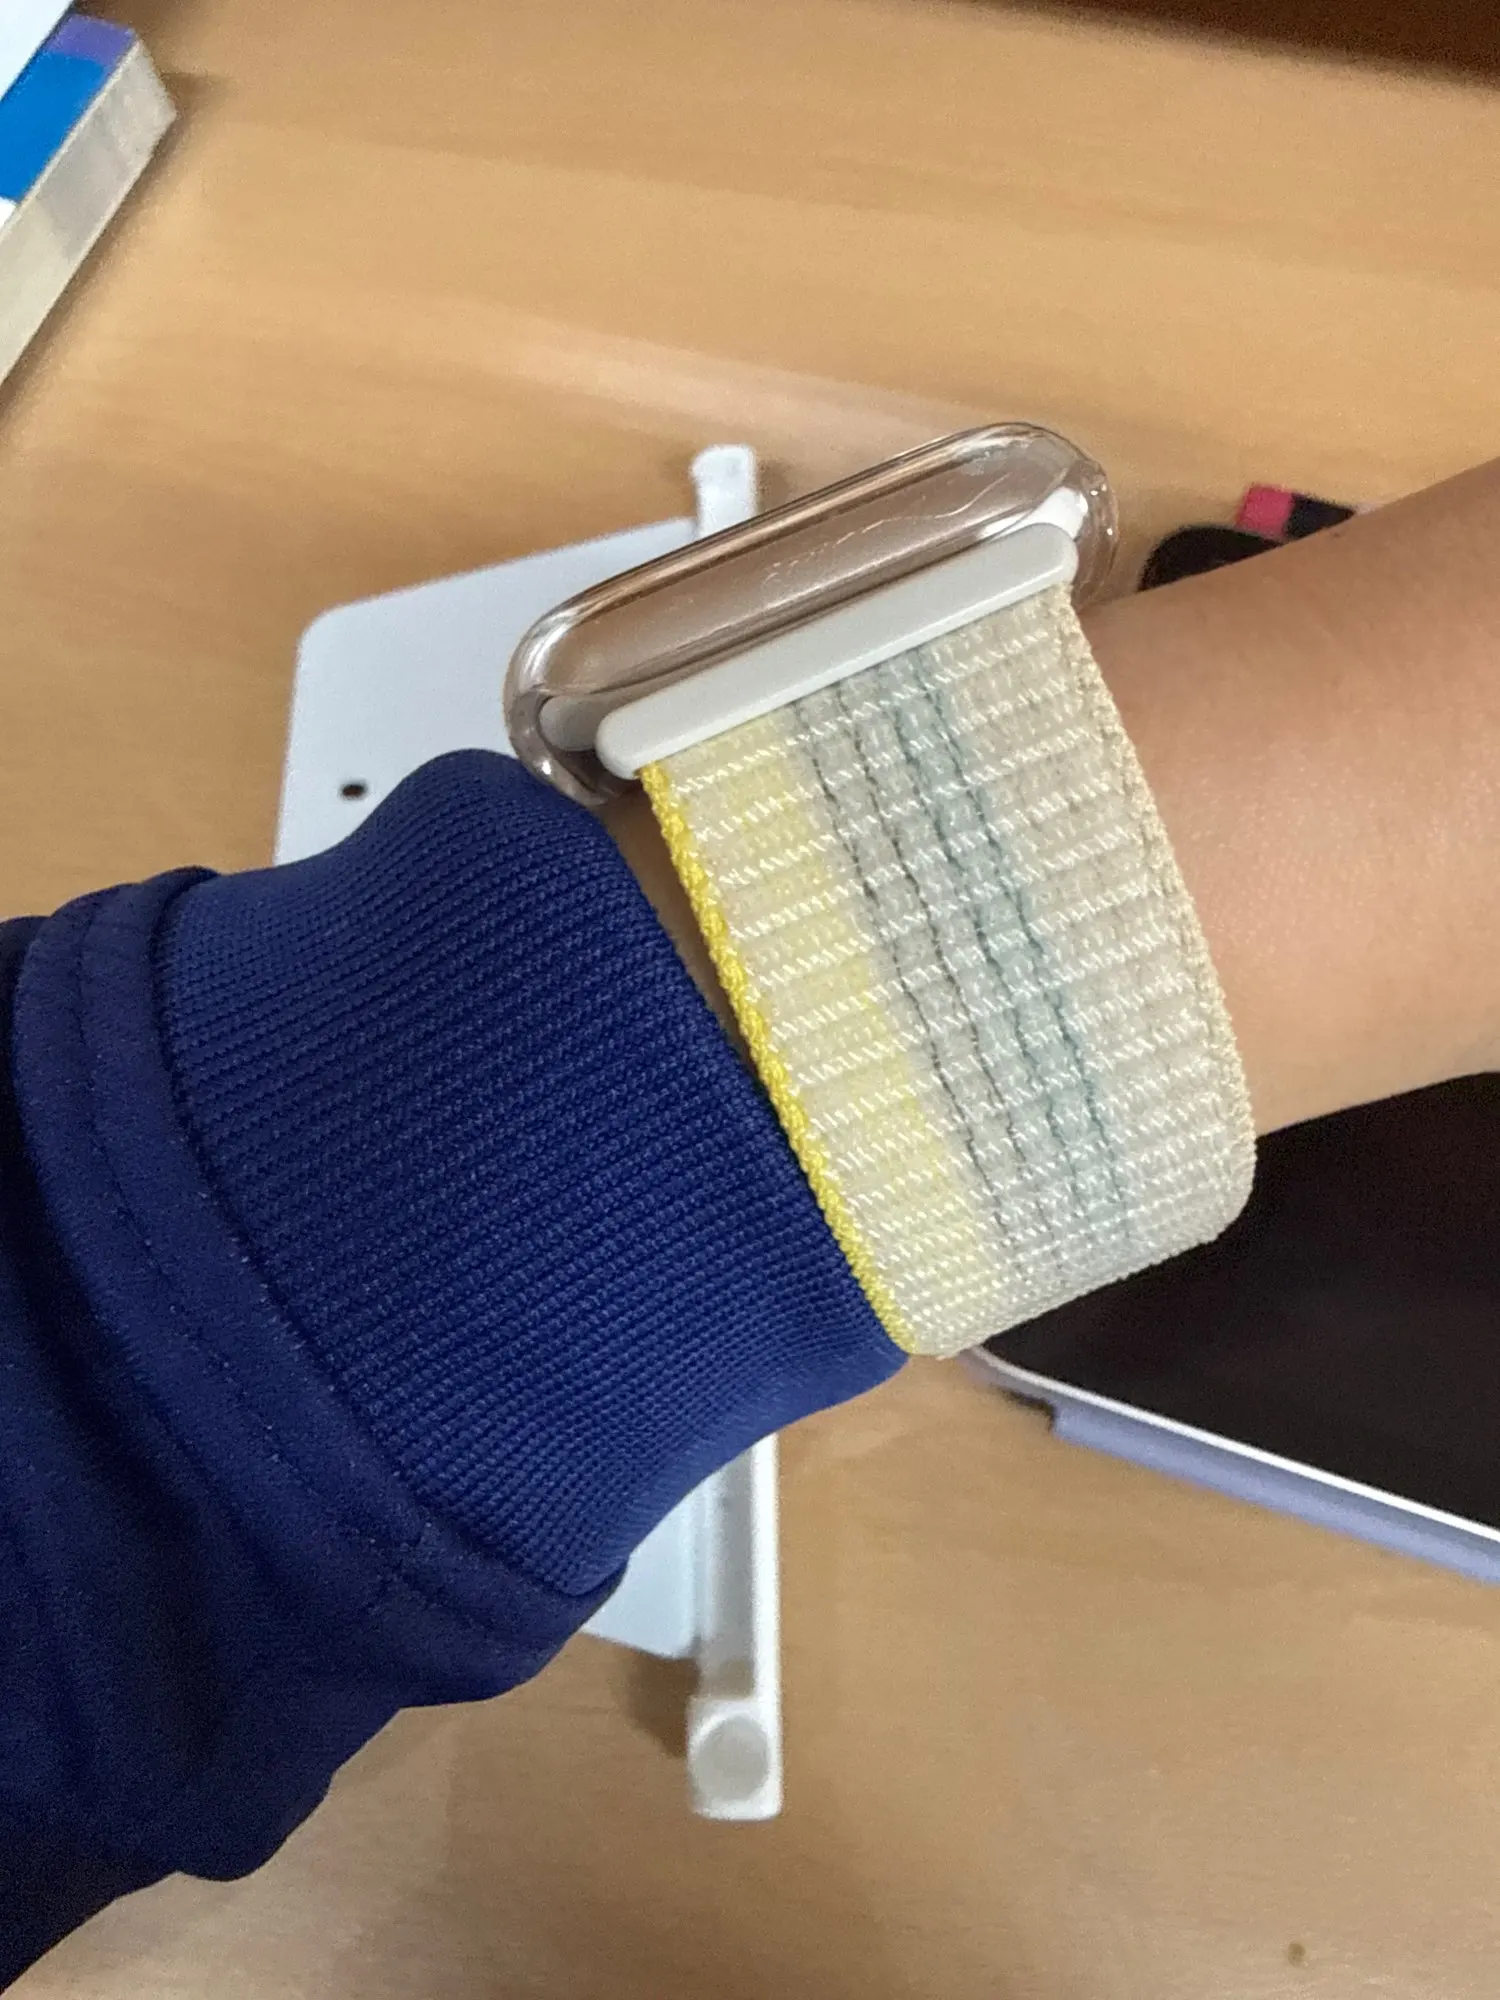
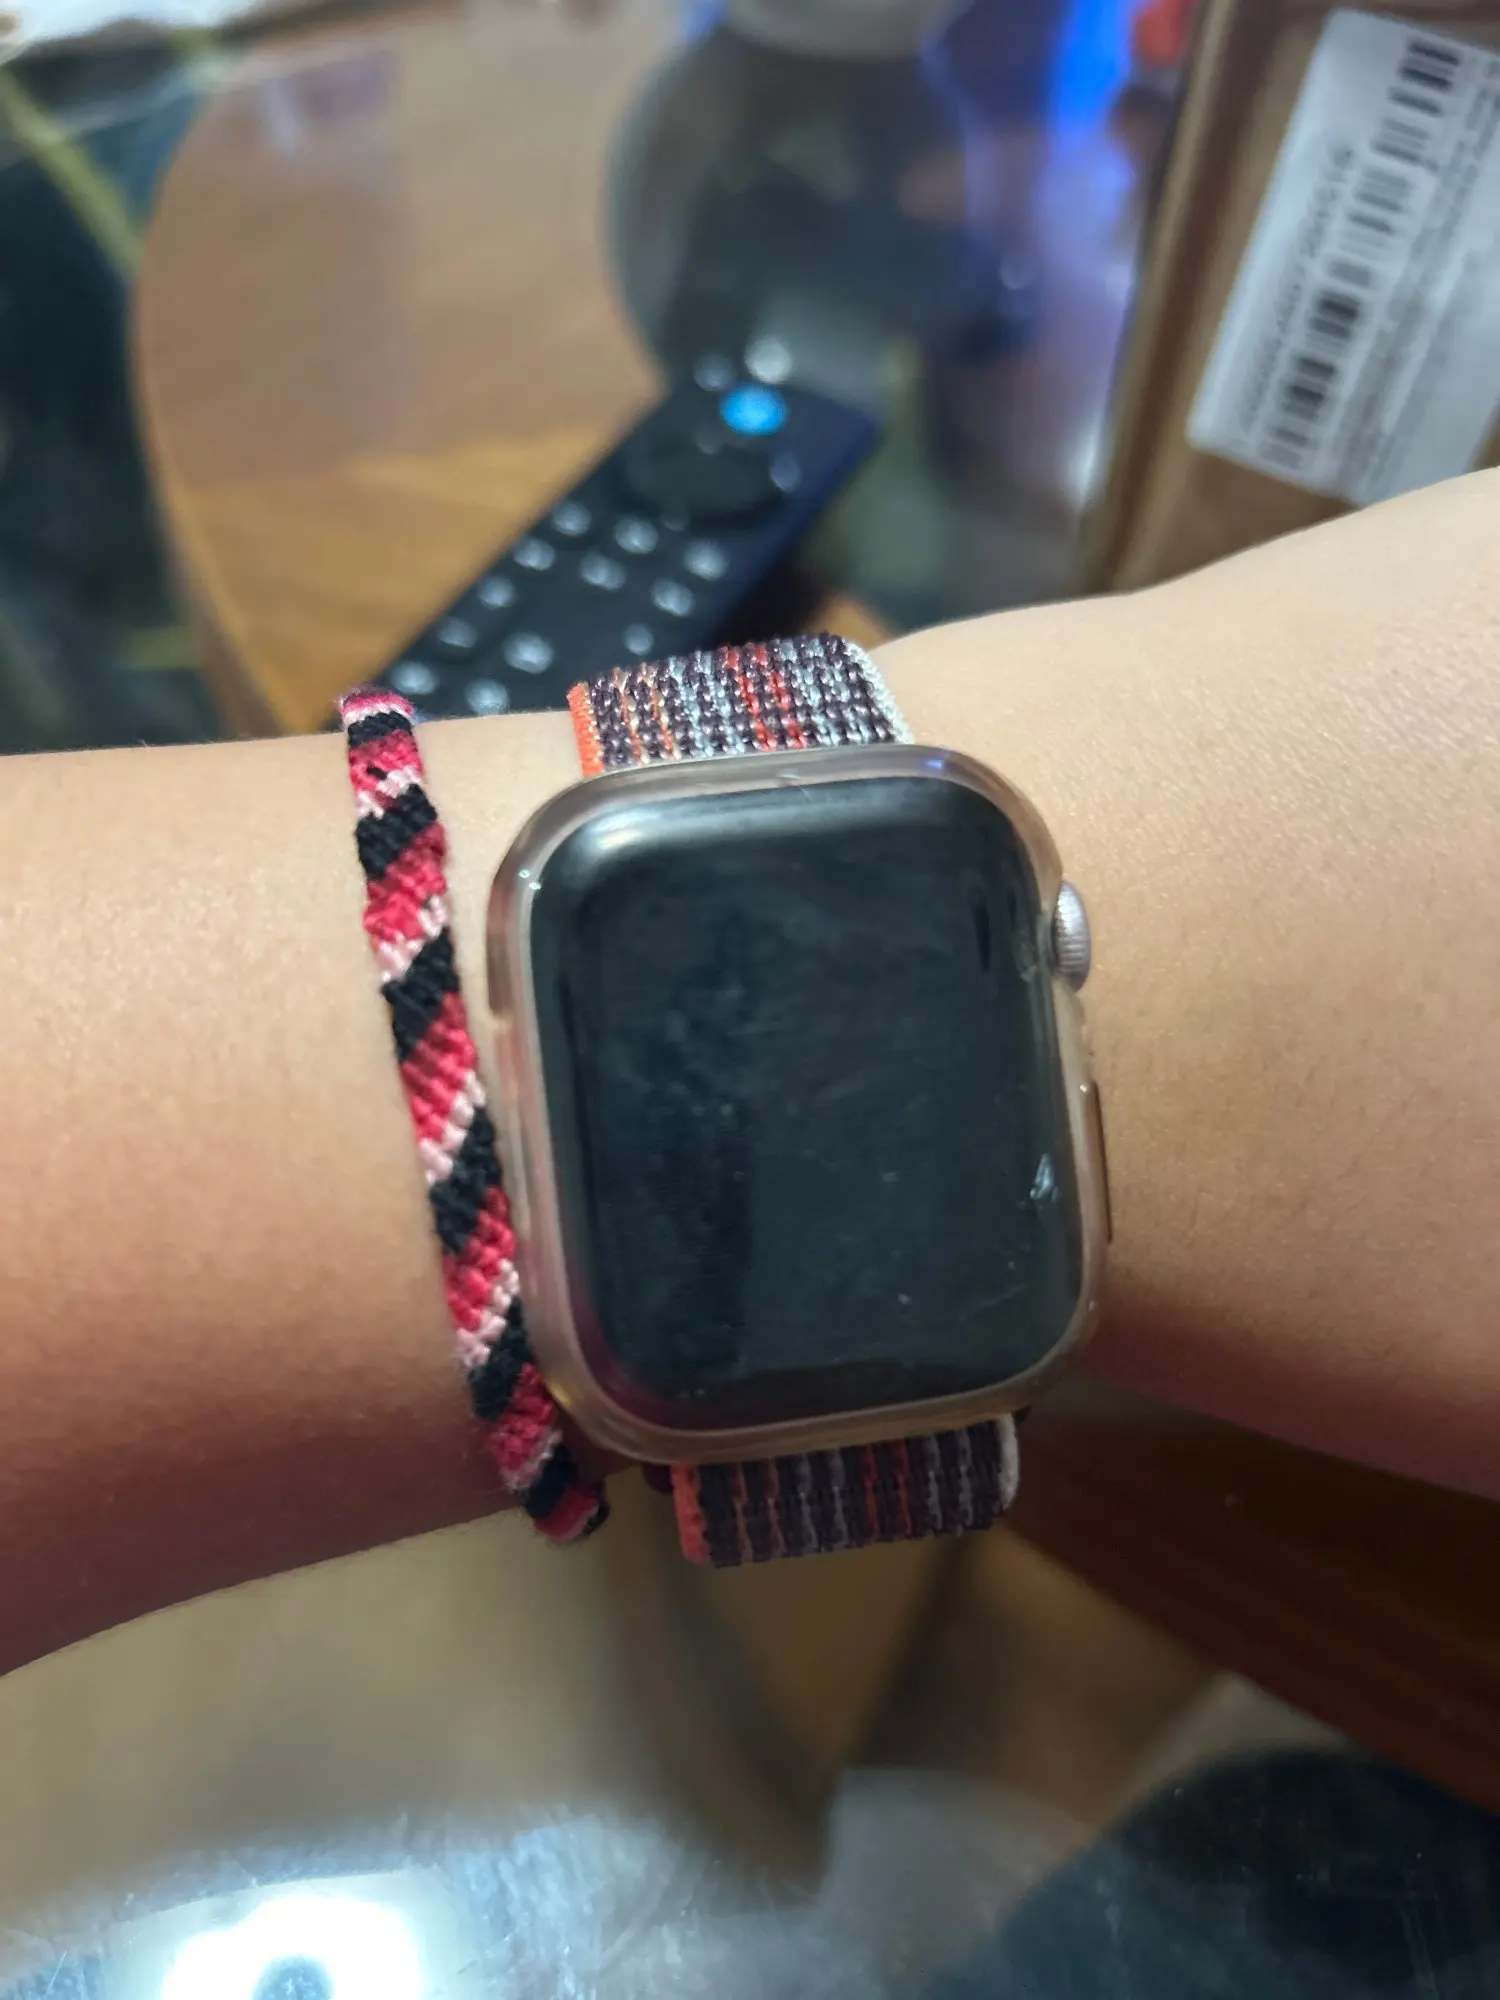
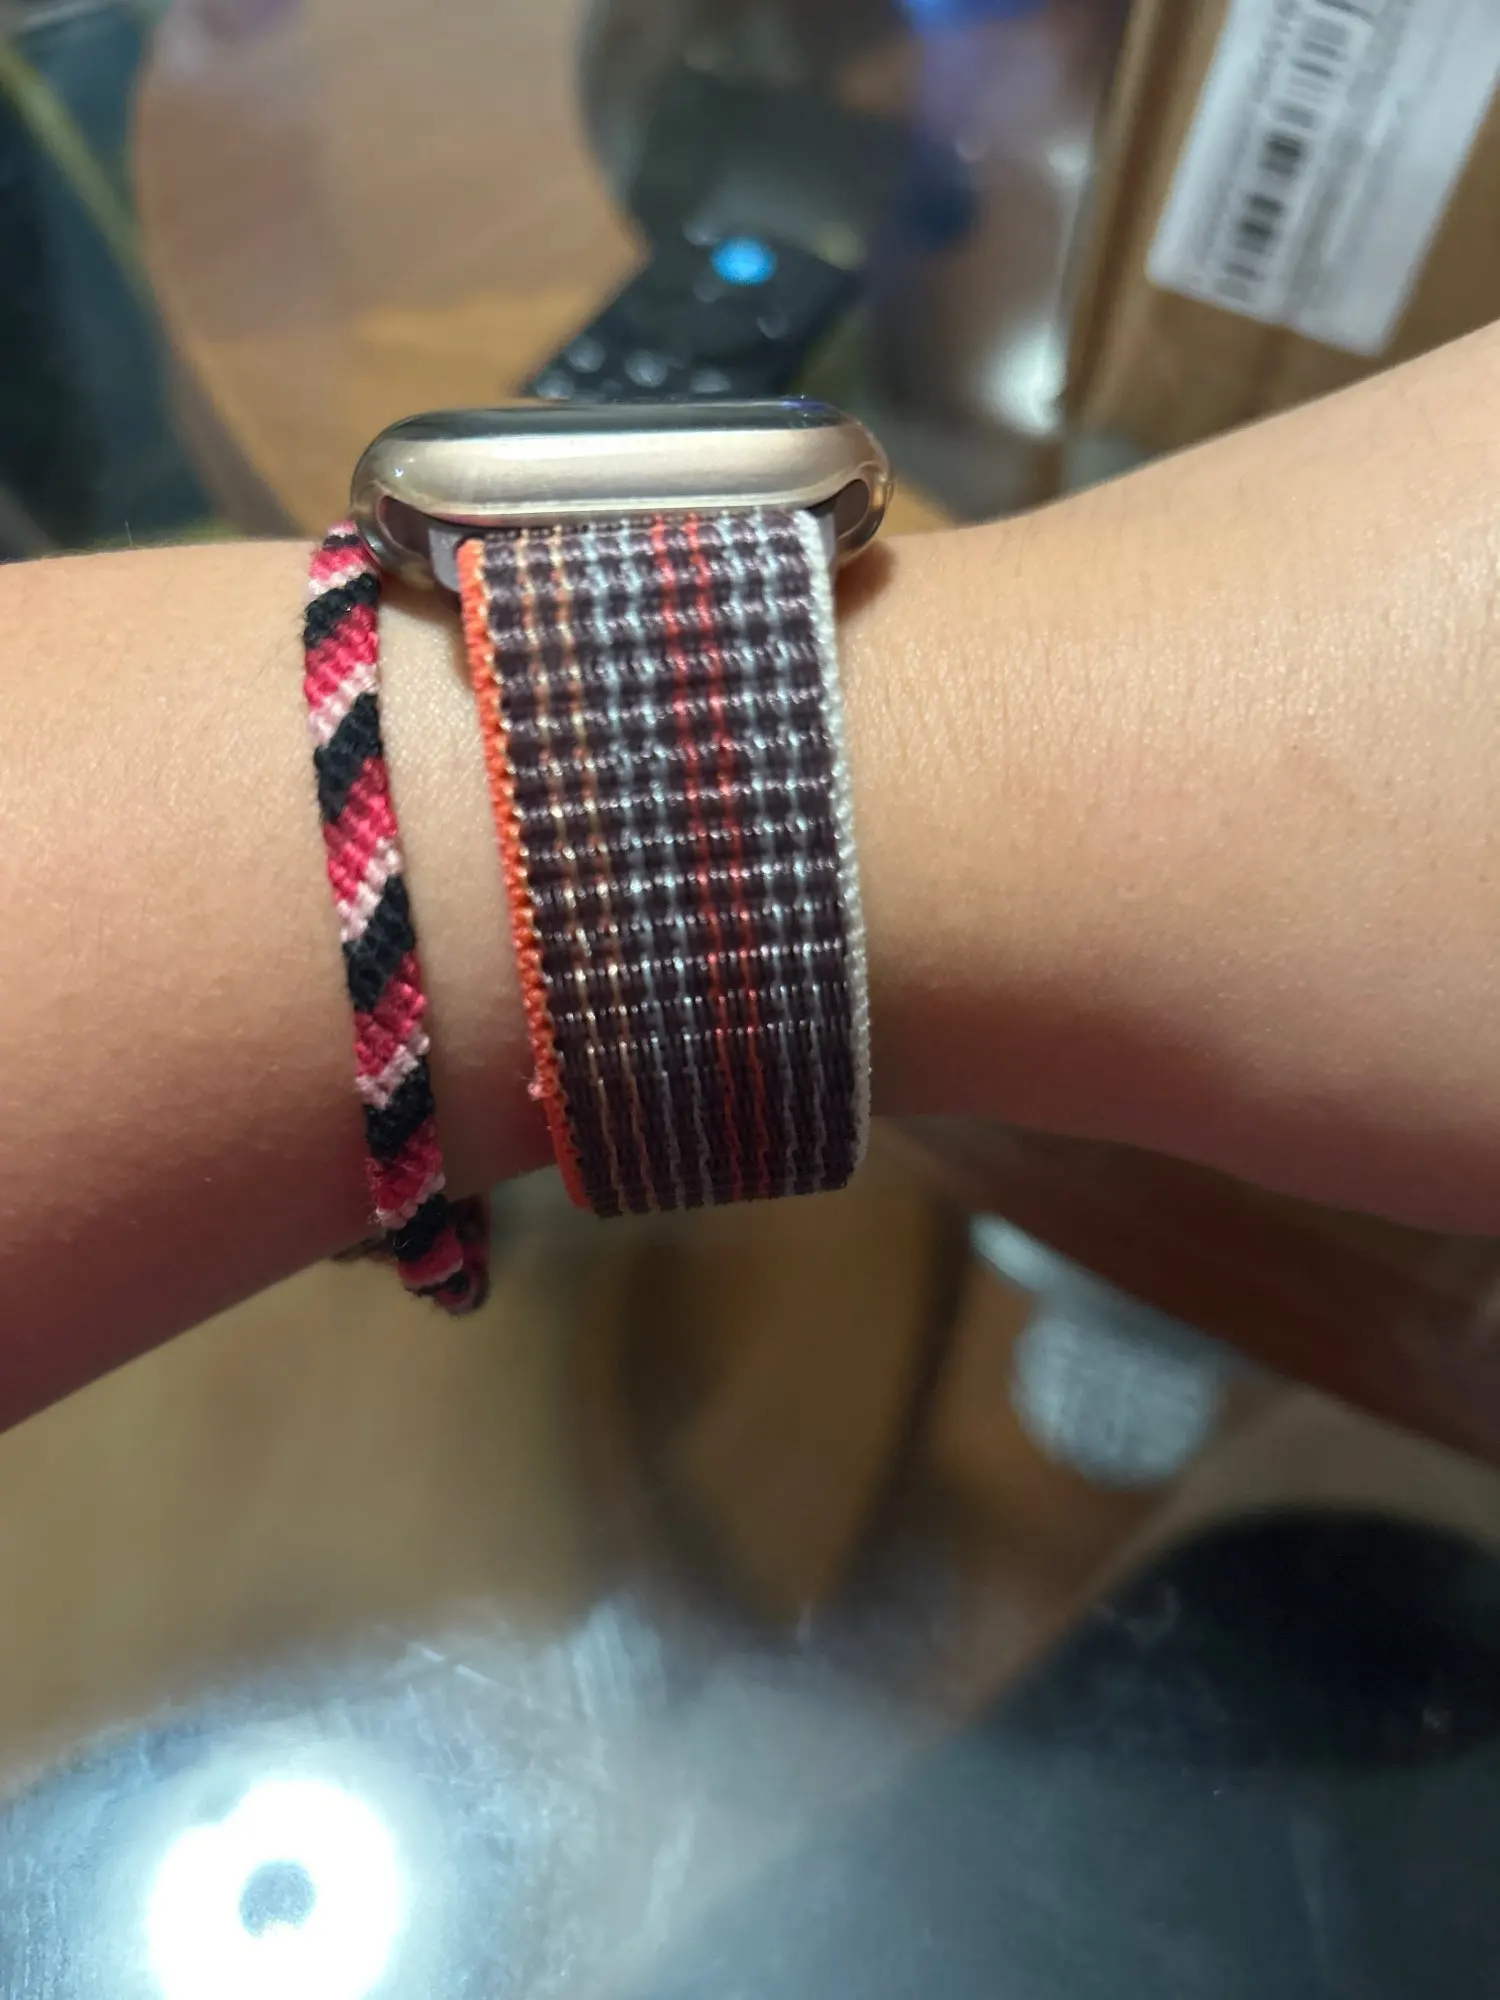
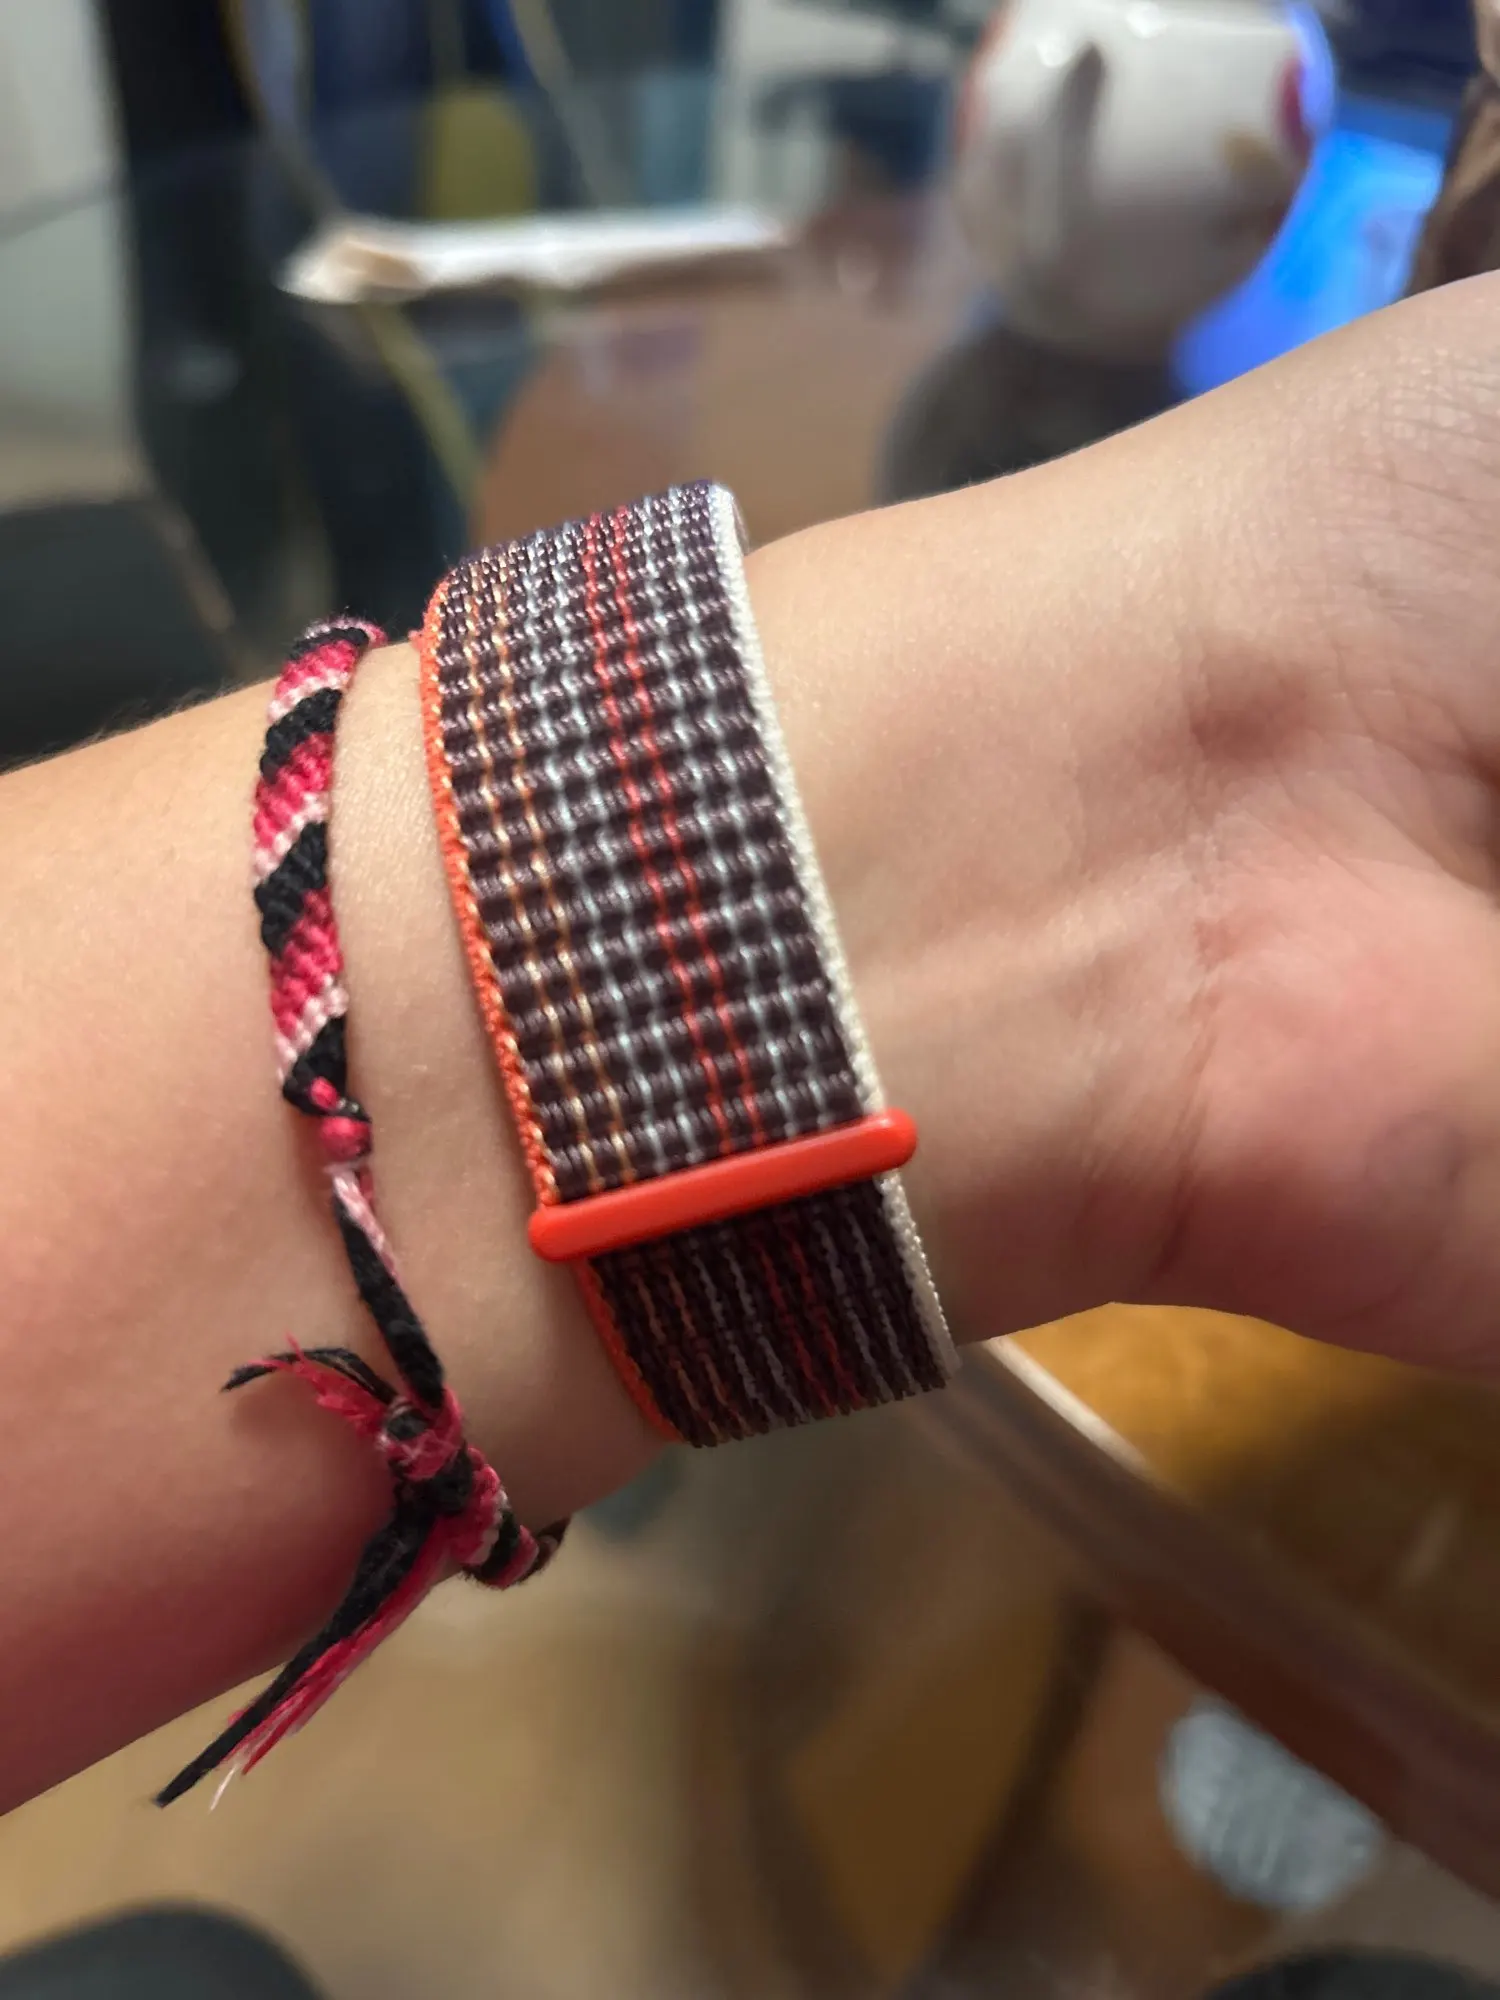
Removing Different Apple Watch Band Types

Sport Band / Sport Loop
These remove easily but can feel tight due to soft materials. Slide gently while holding the button fully.
Metal Link & Bracelet Bands
Heavier bands need even pressure. Use a proper band removal tool when adjusting links.
Third-Party Bands
Some third-party bands have tighter tolerances. Never force them—clean first, then retry.
Why Band Removal Matters for Watch Longevity

Regularly removing your Apple Watch band helps with:
- Preventing sweat corrosion
- Avoiding skin irritation
- Keeping connectors clean
- Extending band lifespan
Cleaning your watch is easier when the band is removed correctly.
Shop Apple Watch Bands (Upgrade Safely)
🔥 Best-Selling Apple Watch Bands
Customer-favorite bands tested for smooth slide-in connectors and daily comfort.

⌚ All Apple Watch Bands
Explore sport, metal, leather, nylon, luxury, and everyday bands—all Apple Watch sizes supported.

💎 Apple Watch Bands for Women
Elegant bracelets, slim metal bands, diamond styles, and lightweight daily wear options.

🛡️ Apple Watch Bands for Men
Durable, sporty, and professional styles designed for daily use and active lifestyles.

Recommended Guides (Read Next)
- How to Replace Watch Strap – Step-by-Step
- White Apple Watch Band Cleaning & Yellowing Fixes
- Turquoise Apple Watch Band Styling Guide
- Orange Apple Watch Ultra Bands Guide
- Diamond Apple Watch Band Luxury Guide
FAQs: Removing Apple Watch Bands Safely

Can removing my Apple Watch band damage the watch?
No—if you press the release button fully and slide the band sideways without force.
Why won’t my Apple Watch band come off?
Usually due to dust buildup or incomplete button press. Clean the slot and try again.
Can I remove the band while wearing the watch?
It’s not recommended. Always remove the watch first.
Do all Apple Watch bands remove the same way?
Yes, Apple uses the same rail system across models and band types.
Is it safe to remove bands daily?
Yes—daily removal helps with hygiene and maintenance.
Final Thoughts
Knowing how to remove an Apple Watch band without damage is a small skill that makes a big difference. It protects your watch, extends band life, and gives you confidence to switch styles whenever you want. Follow the correct sliding method, avoid force, and use the right accessories—and you’ll never struggle with a stuck band again.

Whether you’re upgrading your look, cleaning your watch, or organizing your collection, TrendyStraps offers tools, organizers, and premium Apple Watch bands designed for easy, damage-free use.
Ready to upgrade safely? Explore the collections above and enjoy stress-free band changes—every time.